








この記事の本文は英語版を掲載しています。日本語訳は準備中です。
Wall and floor tiling in factory offices, toilets, canteens and corridors has to balance appearance with control of cutting waste. World Steel prepares detailed tiling layouts from the measured dimensions, tiles on accepted screeds and render, and checks flatness, falls and bond before handover.

Preparation
- Tools: push tile cutter, angle grinder, paddle mixer, rubber mallet, notched trowel, mixing bucket, joint spacers (1 mm, 1.5 mm, 2 mm…), laser level, aluminium straightedge.
- Tiles: the approved type; not warped or chipped; free of dust and oil. Absorbent tiles are soaked and drained before laying. Each floor area uses one batch so colour and size match.
- Adhesive and mortar: approved tile adhesive, stored and used to the manufacturer's instructions; screed and render laid as for floor screeds and plastering.
- Drawings: positions, finished levels, tile size and colour, setting-out tile, mortar grade, falls and directions. Check the measured dimensions and arrange the tiles to reduce waste.
- Area: check floor levels and clear dimensions; screeds and render must be flat, plumb, square and well bonded, cleaned of dust and dampened before tiling.
Wall tiling
| Step | Work |
|---|---|
| 1 | Set up the laser and establish the +1 m datum (taking the level from outside the room). |
| 2 | Chalk the line of the bottom course one tile height above the floor; following the designed falls, the lowest wall tile matches the lowest point of the floor (at the drain). |
| 3 | Use the laser to set square lines and chalk vertical reference lines on all four walls so wall and floor joints line up. |
| 4 | Mark and drill the M&E openings in the wall. |
| 5–6 | Cover the back of the tile fully with adhesive using a notched trowel; set the first bottom tile as the reference, tap evenly with a rubber mallet and level it both ways with a straightedge or spirit level. |
| 7–8 | Set reference tiles from the first one; tile from the bottom up, checking with a straightedge every 3–4 tiles. Dry-lay to choose the pattern so adjacent tiles match in grain and colour. |
| 9 | Always use joint spacers; remove them after 2–4 days and clean the joints. |
| 10–12 | Mitre external corners at 45°; butt the tiles at internal corners; note where tiling stops and the width at door reveals for the frames. |
| 13–14 | Grout the joints full, tight and neat; clean thoroughly and prepare for acceptance. |

Floor tiling
- Check the screed; hollow areas are broken out and relaid. Sweep clean and dampen the base.
- From the setting-out tile on the approved drawing, chalk two lines at right angles and check them for square.
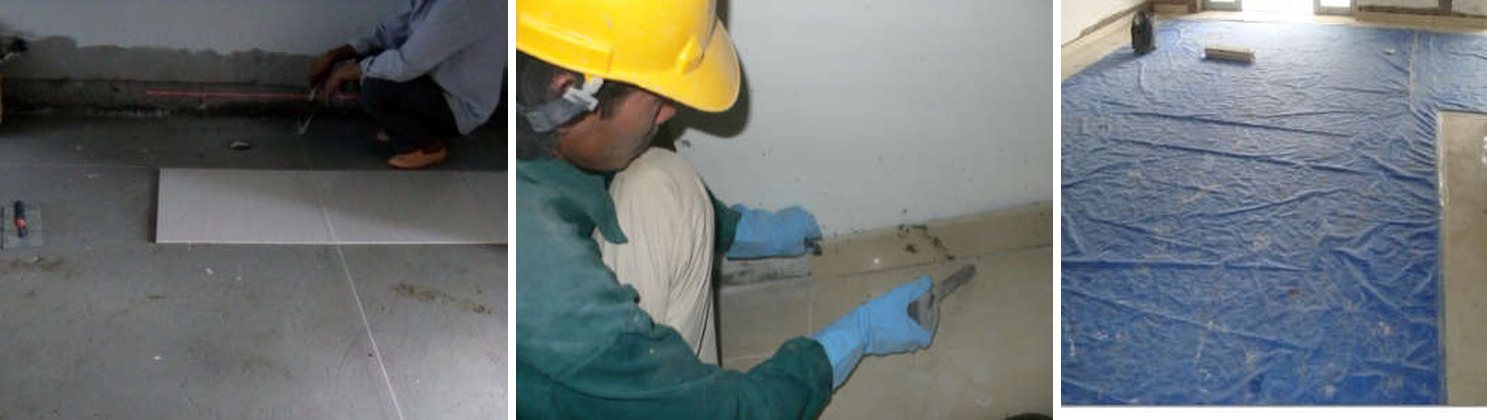
- First lay one straight row along the longer reference line. Cover the back of the tile fully with adhesive or slurry using a notched trowel, especially at the corners so they are not hollow; tap with a rubber mallet from the centre outwards until the bed shows evenly round the tile.
- Toilets: tile all the walls first, the far wall first; then the floor. The tile at the drain is cut to fit the drain neatly.
- Fit skirting tiles after the floor, with joints matching the floor joints.
- Clean the tile faces and joints, grout flush, straight, full and sharp; wipe grout off the tile faces immediately.
- No traffic or impact until the tiles have set. Outdoor paving has movement joints every 4–6 m, 2 cm wide unless the design says otherwise, filled with a flexible material; shade and protect from rain for 1–3 days after laying.
Acceptance criteria
| Criterion | Requirement |
|---|---|
| Wall tile flatness (2 m straightedge) | Gap ≤ 3 mm |
| Floor tile flatness | Gap under the straightedge ≤ 3 mm |
| Falls | Deviation ≤ 0.3%; water test or roll a 10 mm steel ball; relay where water ponds |
| Lippage between adjacent tiles | ≤ 0.5 mm |
| Joint between floor and bottom wall course (toilets) | ≤ 3 mm |
| Bond | No hollow sound when tapped |
| Surface | Correct shape, size and pattern; no defects; even colour; free of mortar and cement |
Common mistakes
| Mistake | Remedy |
|---|---|
| Screed or render not up to standard | Lay and accept as for screeds and plaster; scratch a diamond key into the render |
| Careless cutting and grinding, external corners not mitred | Machine cut and mitre external corners at 45° |
| Chipped tiles, untidy or uneven joints | Replace tiles; sort tiles before laying; always use spacers |
| Uneven floor | Check flatness continuously; one batch per strip |
| Hollow tiles | Check the render and screed first; full, solid adhesive coverage |
| Tiles chipped by other trades | Corner tape, protective sheeting, mortar fillets at door edges; rubber wheels on scaffolds |
| Gaps between door trims and skirting tiles | Finish the skirting tile at the trim after the trim is fixed |
Reference standards
The edition in force when the contract is signed applies.
- TCVN 9377-1:2012 Finishing works in construction – Part 1: Flooring and screeding works
- TCVN 9377-3:2012 Finishing works in construction – Part 3: Wall tiling works
- TCVN 5674:1992 Finishing works in construction – Execution and acceptance
- TCVN 9262-2:2012 Tolerances for building – Methods of measurement of buildings and building products